Installation
Current installation is tried and tested on Windows 10 Home Edition and integrated with the Ingenico IPP350 Card Terminal.
IPP350 Card Terminal
Installing the IPP350 Card Terminal
You should be provided a .zip of files for installation and testing of the card terminal.
Begin by running the IngenicoUSBDrivers setup .exe
You can accept most of the default installation however it is important to force the device to always use a specific COM port. This will ensure that the device is automatically assigned the same Com Port on startup which means that no extra configuration is required in future (providing you use the correct default Com Port 13).
Follow the installation instructions and when reaching the “USB Driver Parameters” screen follow these steps:
- Check the Force COM port feature.
- In the first “Product ID” drop down select - 0060 (Ingenico iPP3xx/iPP4xx)
- In the “Corresponding Virtual COM Port” enter the value 13.
- Under “Select by Connection Order” enter 13 into the first box.
- Click next and complete the installation.
Testing the Card Reader
At this stage we would recommended testing the card terminal is successfully setup and installed, to do so:
- A test application “TestComConcert.exe” is provided inside the CardMachineInstallation folder
- Ensure the card terminal is plugged in and connected to the internet and start the test application
- enter 13 as “COM Port” and 38400 as “Baud Rate”. These are the default configuration values our service uses.
- Click the Open COM Port button, a message box saying connection successful should show.
- Click Send Request Message and you should see a transaction screen appear on the terminal.
- If a transaction appears on the reader, then the setup and configuration is successful.
GWD Device Service
Installing the Web Service
The GWD Device Service offers a simple way talk to the Card Terminal through a locally hosted rest service. This service needs to first be installed.
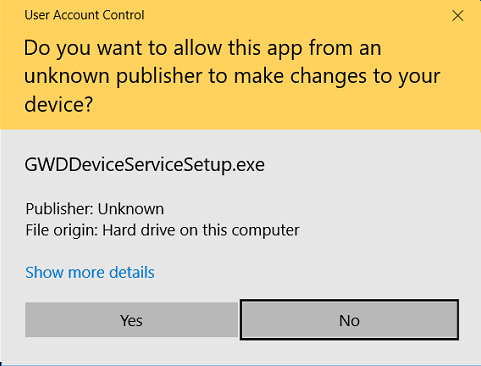
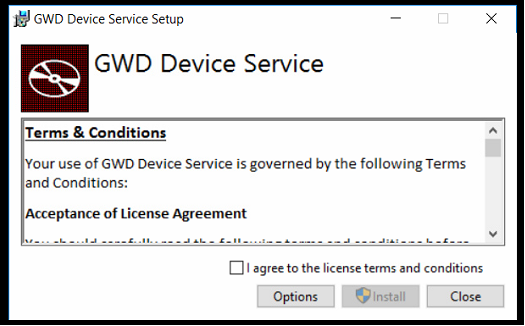
- In the files we have provided have provided, find and run GWDDeviceServiceSetup.exe
- Ensure you allow Unknown Publisher
- Accept the terms and conditions and install.
After the installation, you can verify that the service is running by checking the local services. The service will automatically start every time Windows starts. If you want to verify the service is running
- In the Windows menu find and launch “Services”

- In the list of services find “GWD Device Service”, it should currently be running.

Testing the Web Service
Local Address is: http://localhost:8526/GWDDeviceService/IPP350/
This address should show the below error message when navigating in a browser on the machine running the service.

If you would like to consume the API before integrating it, we would recommend testing using Postman or Fiddler.
Below are details for manual consumption of the API and the results to expect if setup is working as expected.
| Status | Transaction | |
|---|---|---|
| Authentication | Basic (User & PW provided) | Basic (User & PW provided) |
| Type | GET | POST |
| Sub Address | /Status | /Transaction |
| Content Type | N/A | application/json |
| Body(raw) | N/A | { “amount”:10 } |
| Correct Result | {“Description”:”Idle”,”StatusCode”:1} |